
Equipment and Locations
| Item | Location |
|---|---|
| Ballistic Pendulum | Set 6, Cabinet 1, Shelf 2 |
| Sliding Index mounted on meter stick | |
| Spherical projectile with spikes | |
| spring and rod assembly | |
| Bench Clamps and Rods | Set 22, Cabinets 10&11 |
| Wooden Block (for stabilizing) | Set 22, Cabinet 9, Shelf 2 |
Set-up Instructions
1. Attach bench clamps to bench so that they are in the center of the bench and directly across from one another.
2. Insert tall rods into each bench clamp, and align so that they are the same height.
3. Mount spring and rod assembly onto one of the tall rods. Load spiked ball.
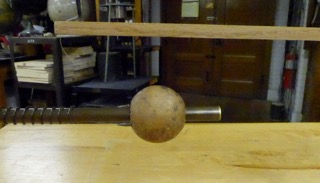
4. String the ballistic pendulum onto the longest rod and mount each end of the longest rod to the top-most point of each tall rod.
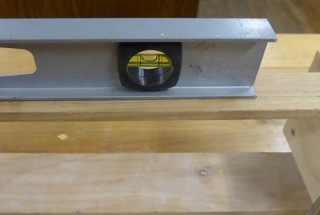
5. Check to make sure that the pendulum is level - make adjustments as necessary.
6. Adjust pendulum so that it is within striking distance of the spring and rod assembly - test this with the spiked ball and adjust as needed.
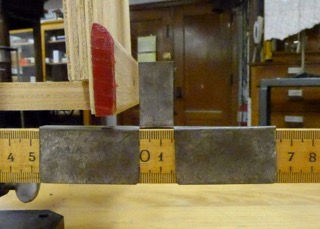
7. Place sliding index so that the end of the pendulum will cause it to move once it starts to move. Set the index to zero for simplicity of measurement.
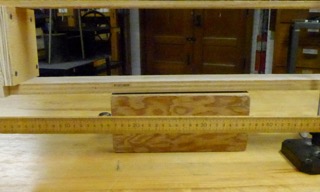
8. Once fully aligned, place a wooden block beneath the pendulum to hold it in place as the demo is rolled into and out of the lecture halls.
Transportation Considerations:
Place the ball on the sliding index mount for transport to prevent it from rolling off of the bench.